

So, this is what the box looks like, and makeup wise, I only applied my face makeup (bareMinerals Primer, Ready foundation, Bronzing powder, and Mineral veil), and lightly defined my eyebrows, keeping my eyes bare.

This is what the inside of the palette looks like, and the variety of colours it contains. It also has a Waterproof Smudge Stick eyeliner.

Using just a normal eyeshadow brush, the first step I took was to apply the shade 'Bare' all over my eyelids. This was to create an initial base powder.
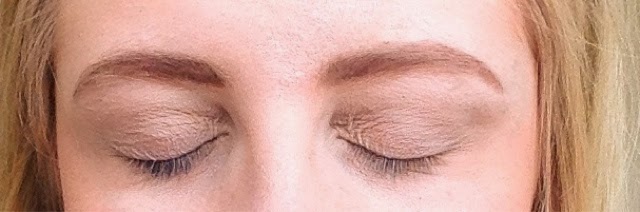
I then applied 'Sandstone', blending it out lightly to the corners of my eye.
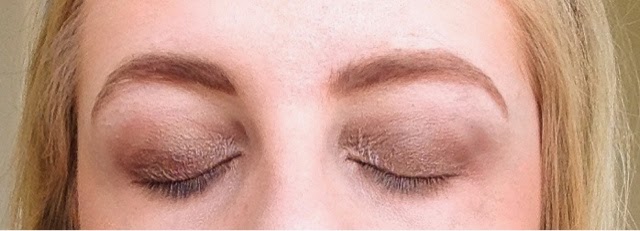
I then applied 'Gilded Gold' to the bottom half of my eyelids, keeping the brush close to my lash line. I then neatened up the edges using a cotton bud, and applied the shade 'Kitten' to the inner corners of my eye, and brow bone, blending it through.
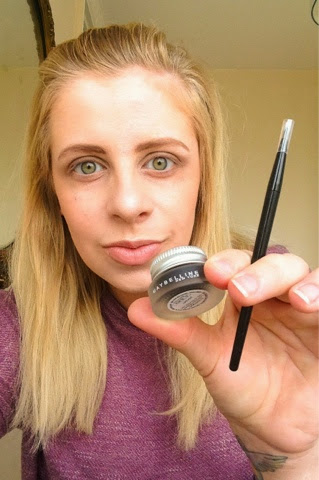
I then used my Maybelline Lasting Drama gel eyeliner, and the little brush that comes with it, to apply a thin flicked line, keeping close to my natural lash line. I think the part that people can find difficult with gel eyeliners, is the concept of a fiddly brush, but for me, I found that this Maybelline set is one of the easiest products I've ever used. Also, as long as you apply the liner over your natural lash line, at least initially (instead of maybe trying to create something heavier), then the flick should just naturally glide on and out, fairly easily.
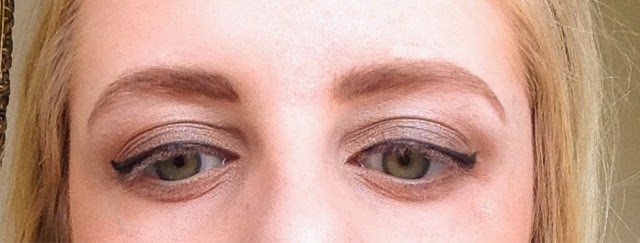

I then curled my lashes using an eyelash curler, and applied Maybelline's Falsies mascara's my upper lashes. I applied two coats. I love this mascara, it has a flared brush which makes the application for your lashes really easy, because the brush flicks out naturally the same way your lashes do - this is definitely my favourite high-street mascara.

I then just used my powder brush to brush away any loose bits of eyeshadow under my eyes, and this was the finished makeup look! I'll definitely be trying out some more styles with my Stila eyeshadow palette soon.
Hope you guys are having a great week,
Sammii-Jane x
No comments:
Post a Comment